
-
How To Use the BeFunky Website (click here to expand)
-
But I wanted video, not pictures (click here to learn more)

-
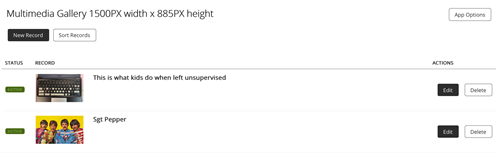
To upload your photo, hover your mouse over the MMG (multimedia gallery) and click on the pencil:
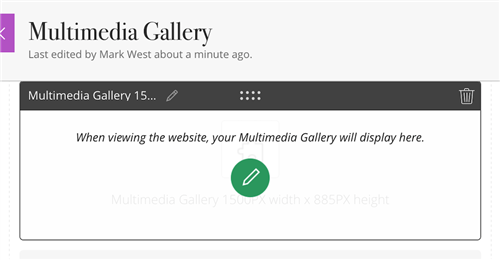
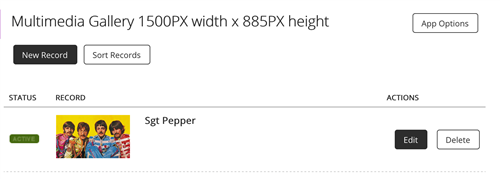
You should see your MMG with the New Record button. Click on New Record to insert a new image.
The next screen (not show) has a button in the center (dark grey) with the words SELECT FILE. Click the SELECT FILE button.
Now you can upload your image, using the Browse button to locate the photo. When you have the image selected, press the Continue button in the bottom right corner.
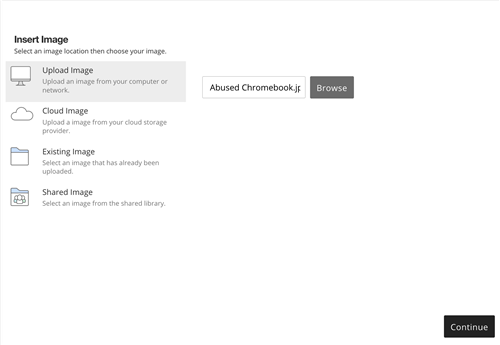
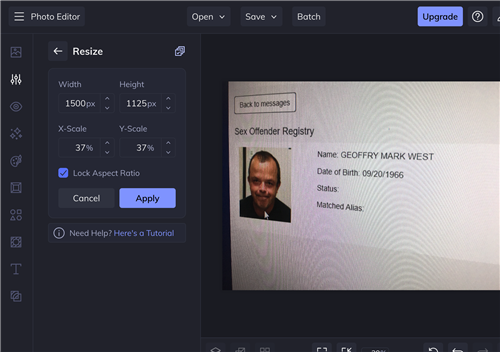
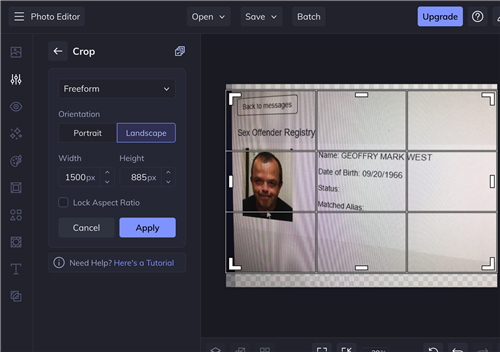
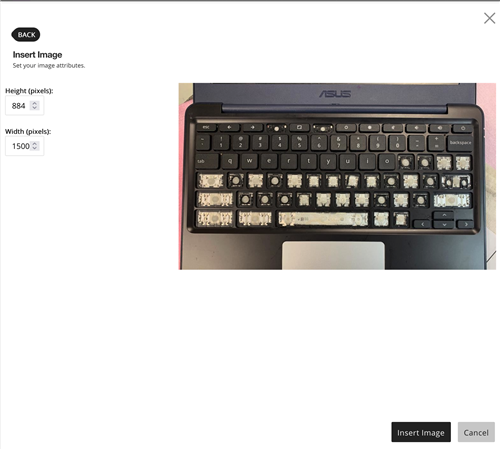
Stupid part: It says the width is 999. Change it to 1500. The image height should be about 885 (884 is OK). When the size is set, click the Insert Image button in the bottom right corner.
Now, fill out all the areas with red asterisks (*). So, give it a Title and Alt Image Text.
If you do NOT want the title to appear in letters over your image, click the Hide checkbox (as shown below). If you want a caption, you can include that text.

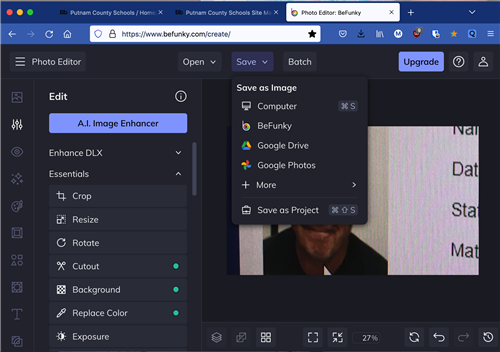
When finished, click the Save button in the bottom left.
But before you save this, you have the option to use the Link Record. This is OPTIONAL. If you want a link by your picture that people can click on and go somewhere, you can add a link record by placing a checkmark in the box by Link Record. Next, fill in the Link Text and Web Address.
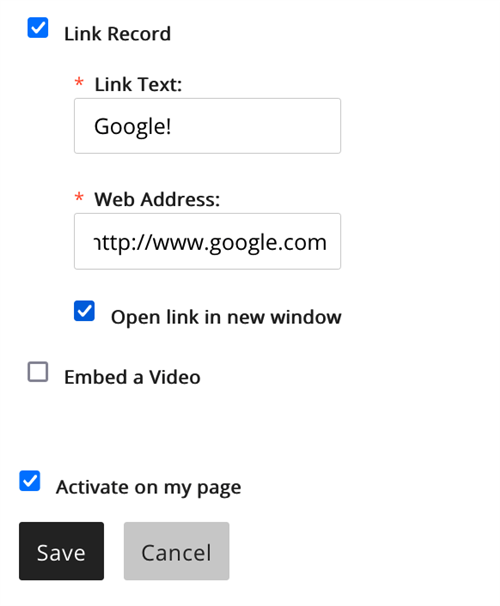
Then press save.
Another option is that you have the option to embed a video. You can ignore this golden section if you do not want an embedded video.
- You still have to have a picture.
- The video is triggered by the user clicking on a link (no, it won't start automatically).
To add the video, at the bottom of the picture area, click on the Embed a Video check box.
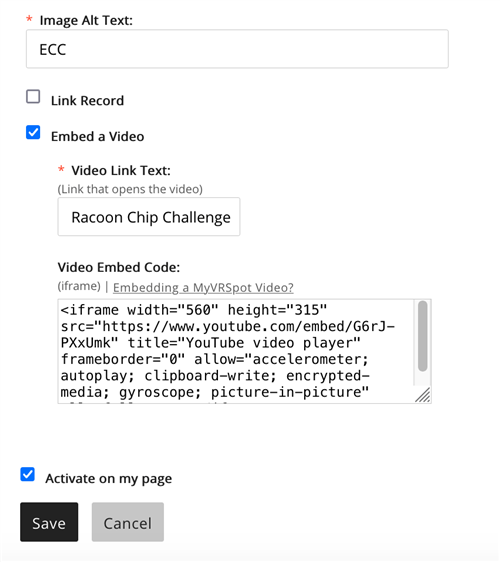
Fill in the Video Link Text and paste the Video Embed Code. To get the Embed Code from YouTube, go to Youtube, and under the video should be a Share button. Click on Embed and copy the code.
Then you will press the save button.
Your new image is now on top, The image on top is the first image displayed, so you might want to click on the sort records button to sort the images, but otherwise you are done.
If this wasn't enough information, click the following text for Blackboard's Multimedia Guide.
If you're unsure how to use the sort feature, this video can help. While it's dealing with site shortcuts, the sorting (organizing feature) is the same across all of Blackboard's apps: