-
So you tried to connect your ViewSonic Panel (ViewBoard) to the Wi-Fi, and it asked for a password... except that we currently have open Wi-Fi access that doesn't require a password. And your ViewBoard insists you type a password. But trust me, there is NO password. Here's how to connect it.
Step 1
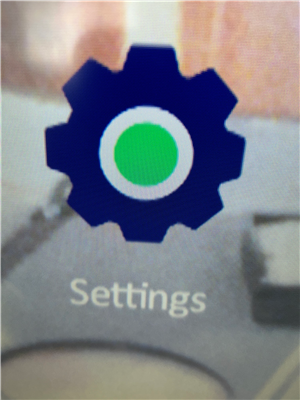
Click on Settings.
If you have clicked on Settings, proceed to step 2.
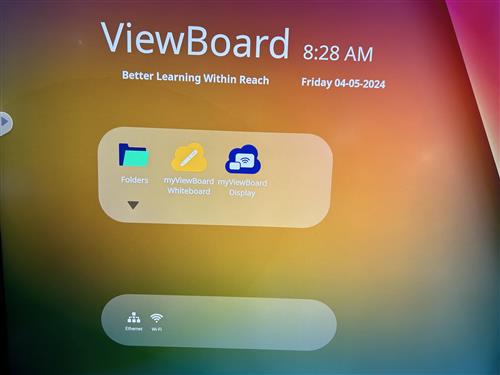
If you can't find settings, disconnect your computer from any cables to the board. Look for the menu on either side. Here is a picture of that menu pop out icon on the right side:
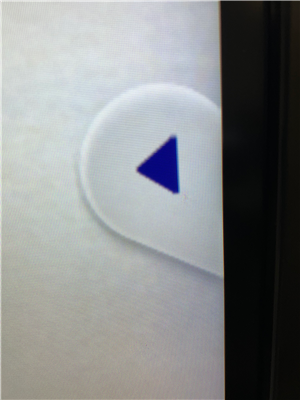
When you click on that menu pop out icon, the menu pops out.
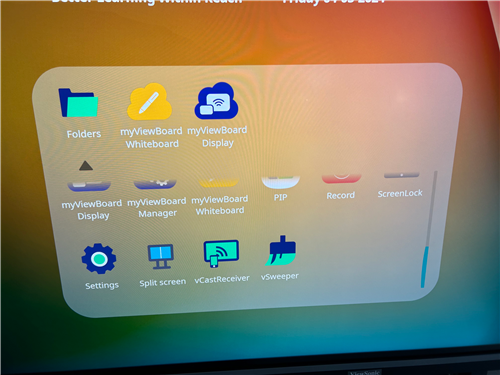
The Settings icon should be on that bar (if you see it, click it and proceed to Step 2, below). Otherwise, click on the Home button:
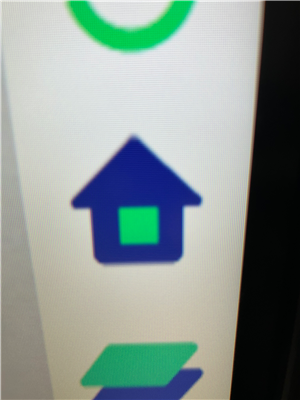
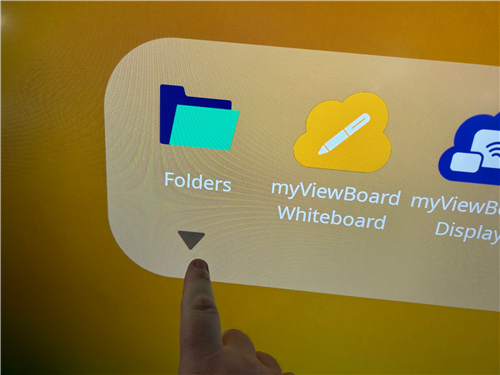
Now you should see the gear icon for settings on the screen.
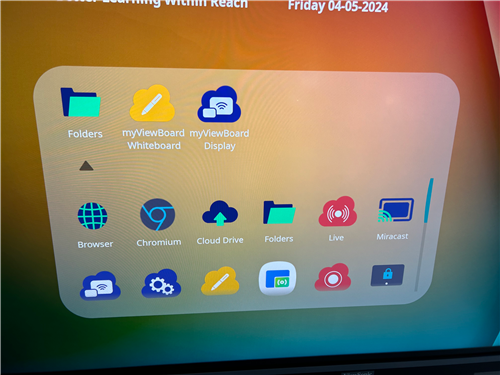
If you still don't see the gear icon, in the middle of your screen there should be an assortment of icons, so scroll down in that box until you see the settings icon that looks like a gear.
-
If you need help navigating the application area (the assortment of icons mentioned above), click here
-
Click on the settings icon.
Step 2:
You should now see this on your screen.
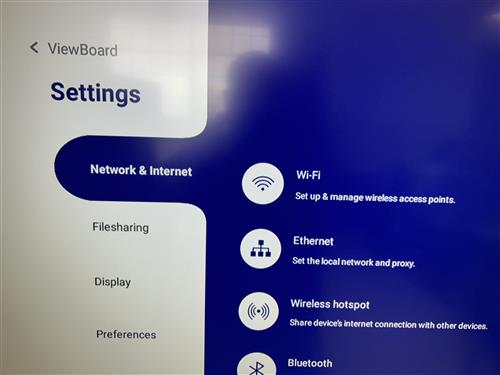
On the Network & Internet section, click Wi-Fi.
This will bring up the Wi-Fi settings:
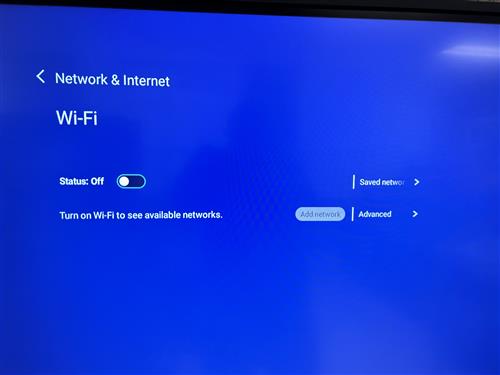
If status is off, as shown above, you cannot add a network. Please make sure status is ON by toggling (touching) the slider switch near the word status:
Make sure status is ON before proceeding to step 3.
Step 3
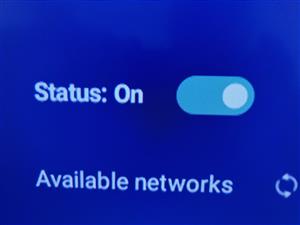
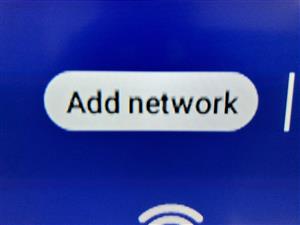
Click on Add Network.
Question: I already see PCS Air in the list of available networks. Do I still need to "Add network"?
Answer: If you want your ViewBoard on Wi-Fi, YES.
Step 4
Once you completed step 3, you now should see the Add Network dialog box and onscreen keyboard.
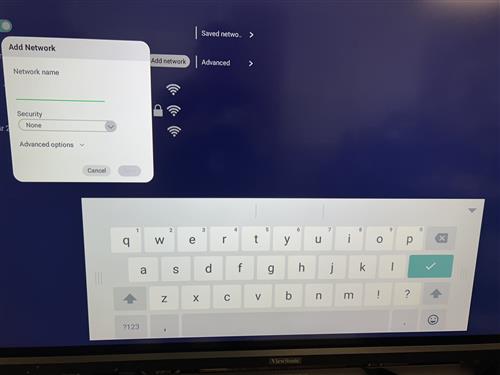
In the Network Name field, type PCS Air using the onscreen keyboard. The upward pointing arrows function as Shift keys.
Leave security as none.
Your Add Network box should look like this:
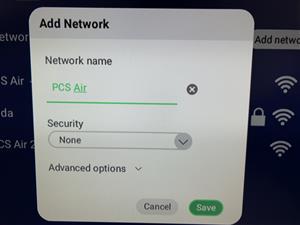
Question: Does capitalization matter?
Answer: Yes, just like in English class. PCS Air.
Click Save.
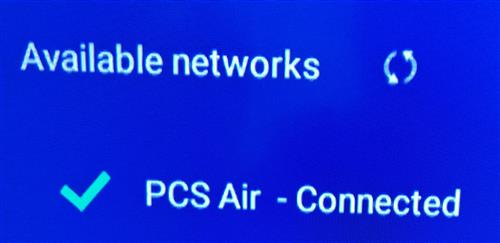
You should now be connected to PCS Air. If it didn't auto-join, click on PCS Air, and you should see that you are connected.